erk: C0 CE FE 84 C2 27 F7 5B D0 7A 7E B8 46 50 9F 93 B2 38 E7 70 DA CB 9F F4 A3 88 F8 12 48 2B E2 1B
riv: 47 EE 74 54 E4 77 4C C9 B8 96 0C 7B 59 F4 C1 4D
pub: C2 D4 AA F3 19 35 50 19 AF 99 D4 4E 2B 58 CA 29 25 2C 89 12 3D 11 D6 21 8F 40 B1 38 CA B2 9B 71 01 F3 AE B7 2A 97 50 19
  R: 80 6E 07 8F A1 52 97 90 CE 1A AE 02 BA DD 6F AA A6 AF 74 17
  n: E1 3A 7E BC 3A CC EB 1C B5 6C C8 60 FC AB DB 6A 04 8C 55 E1
  K: BA 90 55 91 68 61 B9 77 ED CB ED 92 00 50 92 F6 6C 7A 3D 8D
 Da: C5 B2 BF A1 A4 13 DD 16 F2 6D 31 C0 F2 ED 47 20 DC FB 06 70
Author: Jani
-
mem++;
(Suomeksi)
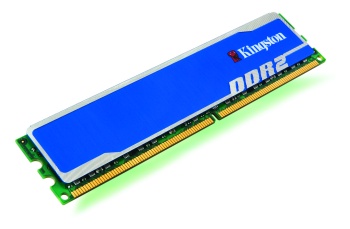 Just installed two memory modules which I’d ordered a couple of weeks ago from Verkkokauppa. It was relatively painless apart from a small cut I inflicted on my hand while cutting a cable tie with my blunt Leatherman blade. It was actually pretty unavoidable because of the cramped space. I couldn’t both hold the cable tie and dodge the knife.
jani@saegusa:~$ free -m total used free shared buffers cached Mem: 7750 1429 6320 0 122 381 -/+ buffers/cache: 926 6824 Swap: 19069 0 19069I wasn’t really running out of memory yet in day-to-day use, but I’d already decided to invest in upgrades regularly when purchasing my current setup, to make it last as long as possible. With my previous computers I’ve postponed upgrades until the hardware could no longer meet software requirements, at which point the hardware was so obsolete that upgrade parts were hard to find.
The RAM I now installed was Kingston’s HyperX blu. They’re pretty neat-looking.
With the two Buffalo modules on the motherboard already I initially had some difficulties: Memtest86 found errors until I happened to juggle the modules into slots where they worked perfectly.
-
Firefox 4 menu button goes right
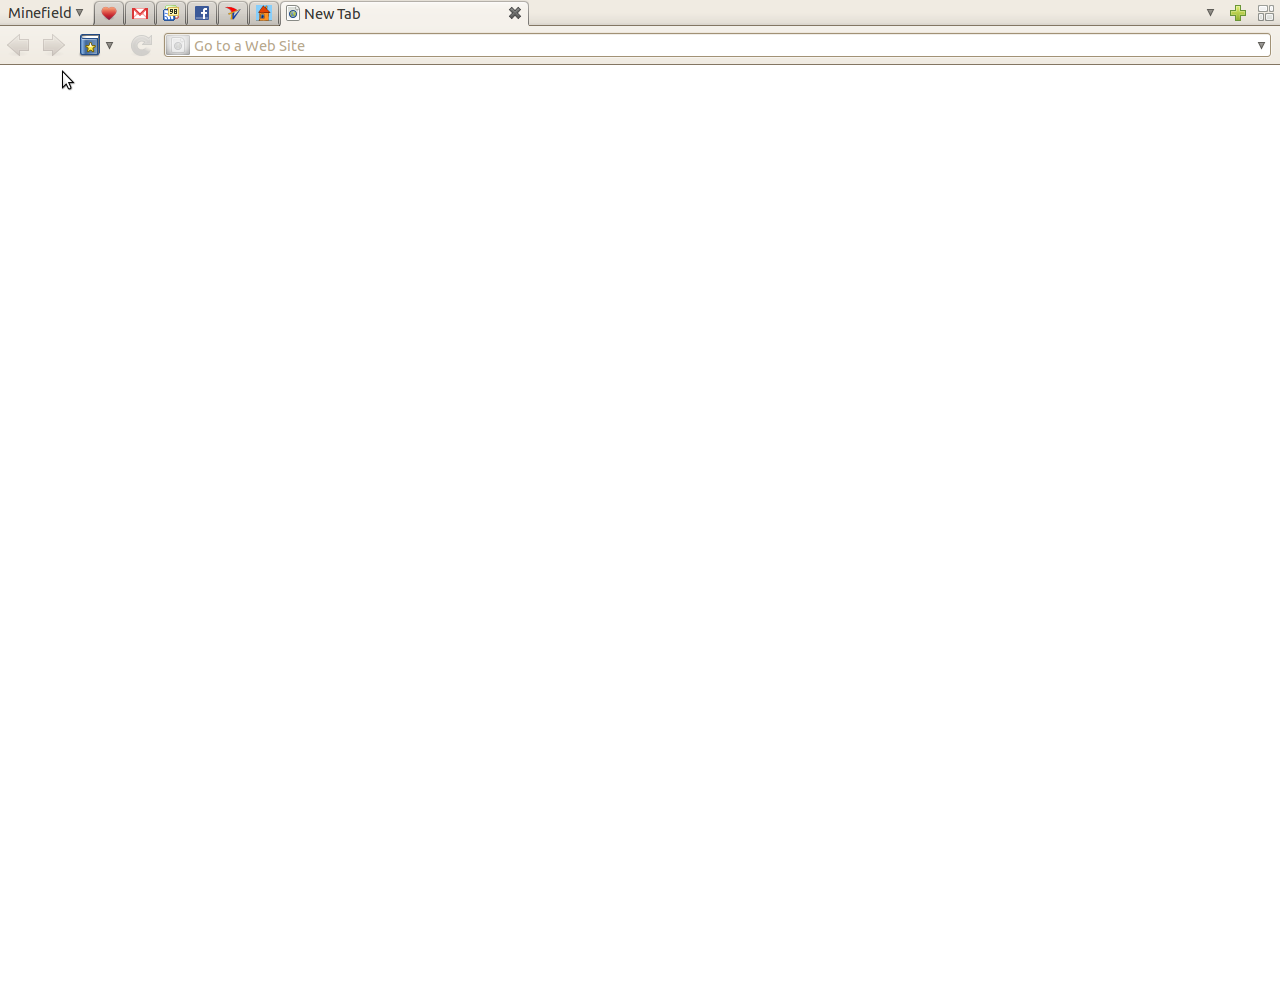
So, Firefox 4/Minefield pulled a fast one on me and instead of looking like it should, which is this:
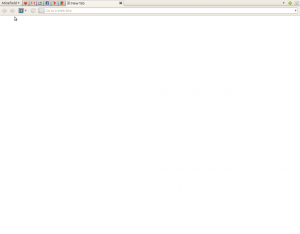
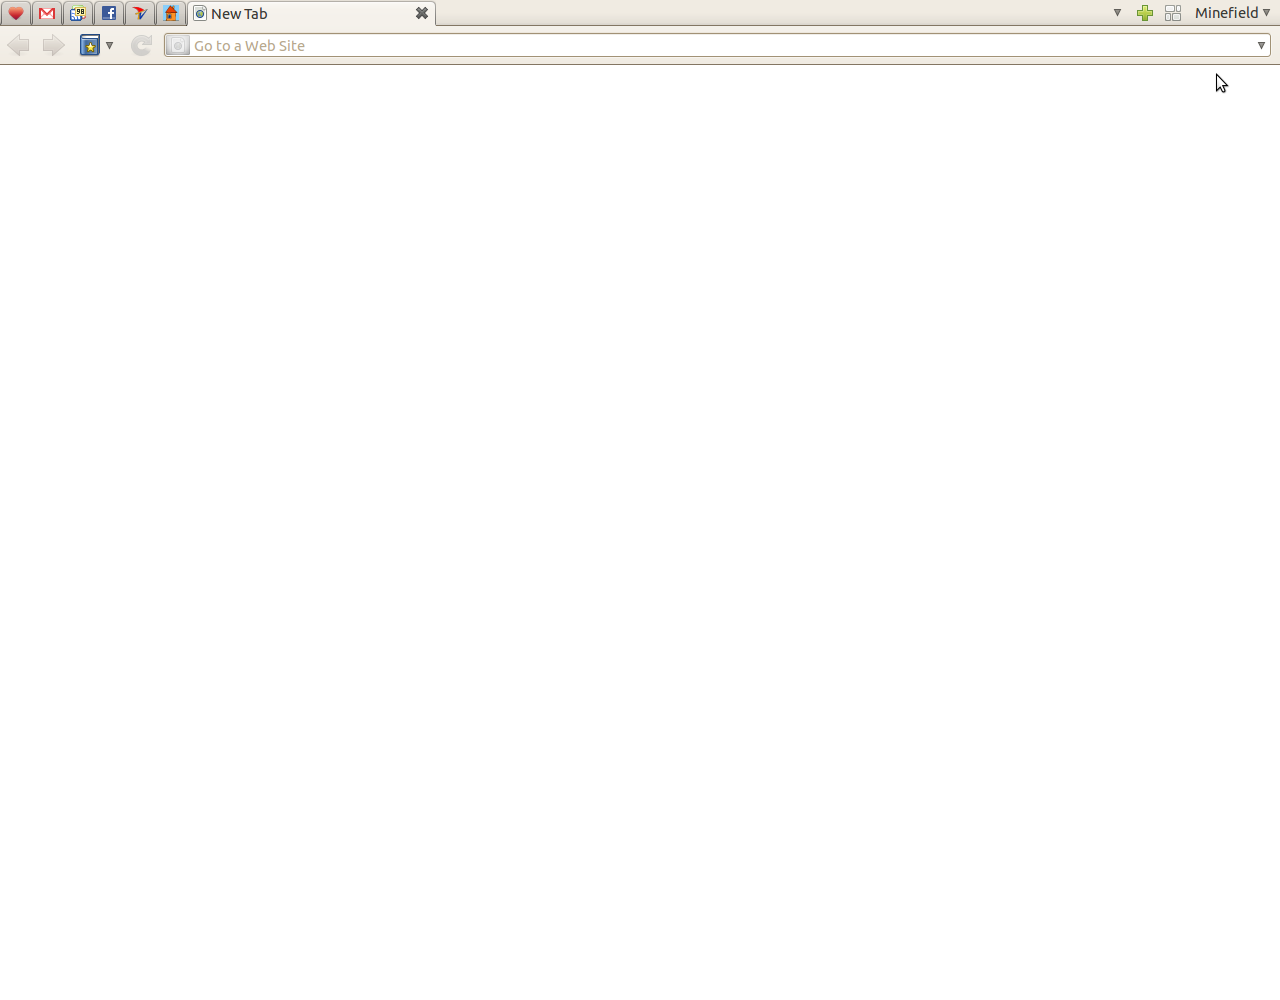
it somehow, all on its own, ended up looking like this:
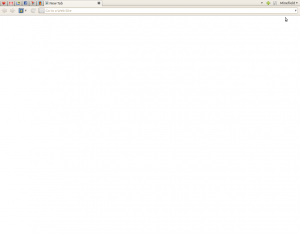
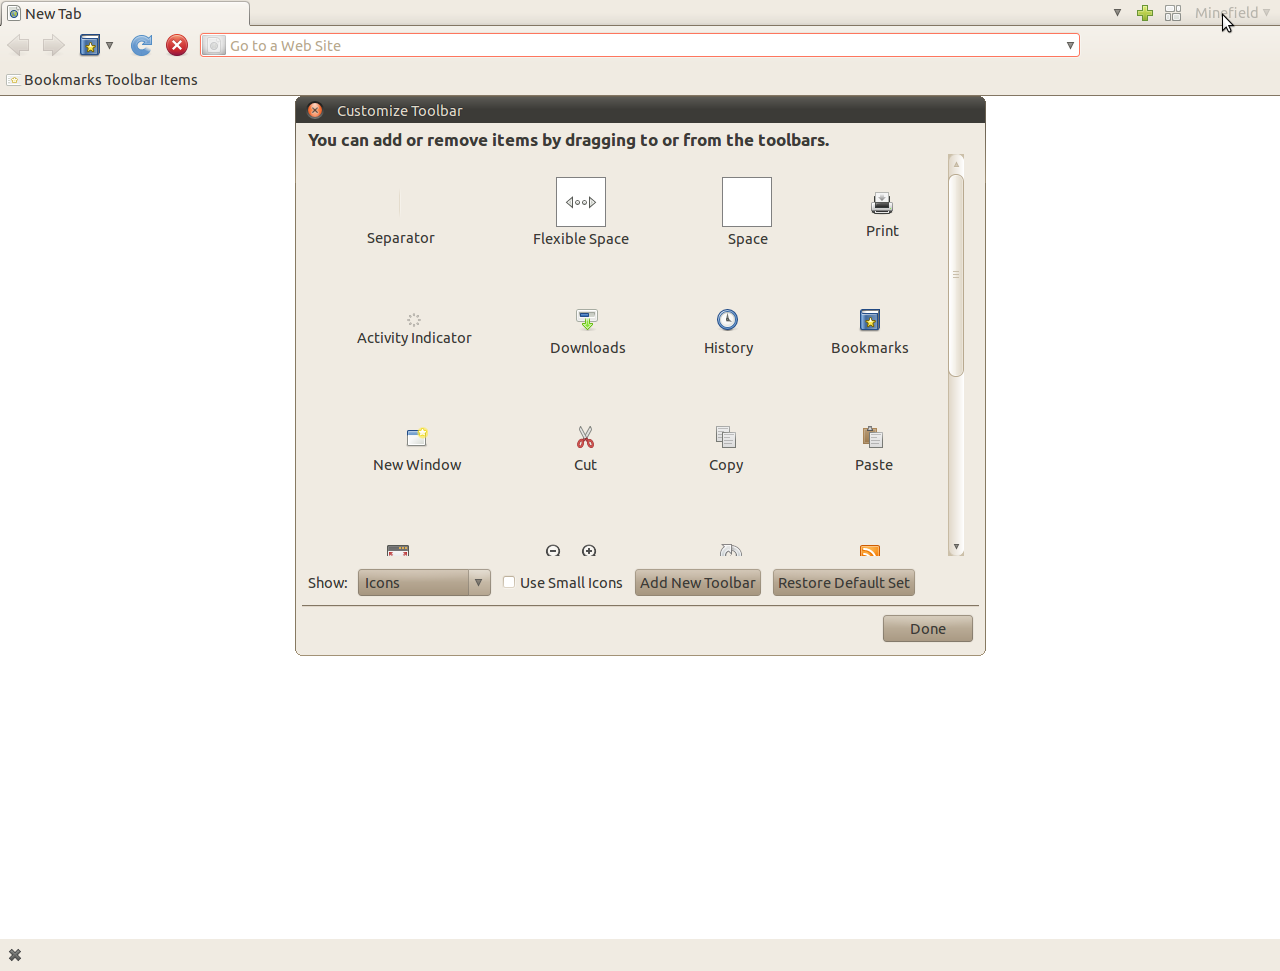
As you see, the fancy new menu button has gotten itself on the right end of the tab bar. A subtle change which is trivial to correct using Firefox’s toolbar customization… except the Mozilla engineers in their infinite wisdom have decided that the menu button shan’t be moved.
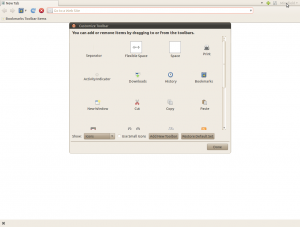
Great. How the fuck am I supposed to fix this, then, without having to build a new profile from scratch?
Well, the trick is to kill the browser and then edit
$YOURPROFILE/localstore.rdf. Find the line that sayscurrentset="appmenu-toolbar-button,tabbrowser-tabs,tabs-closebutton,alltabs-button,new-tab-button,tabview-button" />but with the “
appmenu-toolbar-button” misplaced or even missing entirely. Fix it so that it looks like the code above, withappmenu-toolbar-buttonfirst. Save the changes. Now restart the browser and hope for the best!And no, removing
appmenu-toolbar-buttonaltogether won’t get rid of the menu button. It’s just one of the ways to trigger this issue. -
Libre.fm Now Playing for WordPress
Libre.fm Now Playing fetches the currently playing track from your Libre.fm account and displays it in a widget, optionally linking it to Libre.fm.
-
Checking out Fedora again
Tried out the fresh Fedora 14, as I usually do when they come out with a new release. Found out the weird feeling I have with it still hasn’t changed. It’s got a lot of polish, and yet some things just feel awkward and clunky in my hands. Granted, some of it is just due to my coming from the Debian world and Fedora doing things slightly differently, but still I have to question some of the quirks.
For example, what does this mean:
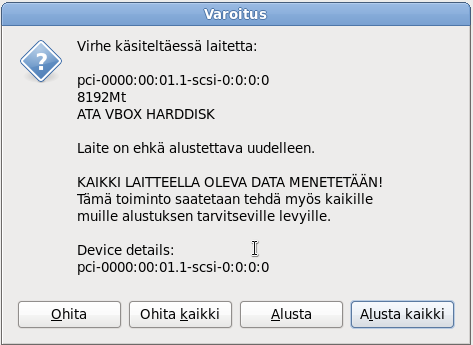
(It says, in Finnish, “Warning: Error processing drive [blah blah] This device may need to be reinitialized. REINITIALIZING WILL CAUSE ALL DATA TO BE LOST! This action may also be applied to all other disks needing reinitialization.”)
I mean, sure, an experienced user like myself can figure out what it means, but honestly, what the hell?
What I tried to accomplish immediately following installation was to have Guest Additions working in VirtualBox. In Ubuntu I go about it by installing the guest modules from the repositories. I couldn’t find such packages in Fedora’s repositories, so I resorted to using the Guest Additions disc image.
This called for installing a build environment, which turned out to be more complicated than it sounds. However, the problems there were probably mostly of the kind where it helps if one is accustomed to the Fedora way of doing things. What I didn’t like was that
- Each time the package manager asked for superuser privileges, the prompt box was unfocused despite being on top. This is probably a bug and so blatant that I’d be surprised if it isn’t in Fedora’s tracker already. In fact, it was such a bother that I’m surprised it’s there in a released product.
- Granting the privileges causes a set of keys appear on the panel. I was dissatisfied with the privileges being dropped so quickly, so I figured I could adjust the time interval using the keys icon. But right-clicking it just caused it to disappear. And so did a left-click. Huh? If the purpose of the icon is to drop the privileges immediately, shouldn’t it represent, I don’t know, a lock rather than a set of keys?
-
SBcrew & 8bp presents: 10-10-10 “REAL-LYF” Demo
SBcrew & 8bp presents: 10-10-10 “REAL-LYF” Demo
[youtube]http://www.youtube.com/watch?v=N4agL0ZjK44[/youtube] -
Requesting a firmware with SDHC support for my card reader
Just sent the following support request to ENlight:
Hi,
I have an Enlight “8 in 4” Bay Reader for memory cards. The packaging says that the firmware of the reader is upgradable (“Current Firmware Rev 1.1”). However, I was unable to locate any firmware downloads from your website’s download section. I was thinking of upgrading the firmware, because with the current firmware, the reader cannot access my SDHC memory card.
Fingers crossed.
-
Compiling Miro 3.0.3 on Lucid
Not sure if all of the stuff I installed was necessary, but at least nothing required was missing when I did it like this. I’m writing this down from memory and not on-the-go, so there might be errors, but the idea is there.
# apt-get install miro python python-pyrex \

libboost-python-dev libboost-filesystem-dev \

libboost-date-time-dev libboost-thread-dev \

libboost-serialization-dev python-gtk2-dev \

python-gnome2-extras-dev libxine-dev chrpath \

libxv-dev libssl-dev libffi-dev python-dbus \

python-gtk2 python-gnome2 libtorrent-rasterbar-dev \

python-glade2 python-gst0.10 imagemagick libxine1-x \

libxine1-plugins xulrunner-1.9 xulrunner-dev
$ wget http://ftp.osuosl.org/pub/pculture.org/miro/src/Miro-3.0.3.tar.gz$ tar xvf Miro-3.0.3.tar.gz$ cd Miro-3.0.3/platform/gtk-x11$ ./run.sh
-
The Launchpad bug where boot is stuck in Plymouth, gdm greeter not showing
Just helping Google here: apparently the issue of GDM not giving a login screen after Plymouth has finished is Bug #441653: xf86OpenConsole: VT_WAITACTIVE failed: Interrupted system call. For me this issue popped up after upgrading an NVidia-driven machine to Lucid and thus switching to Nouvaeu, though I can’t be sure it wasn’t there even back in Karmic.
-
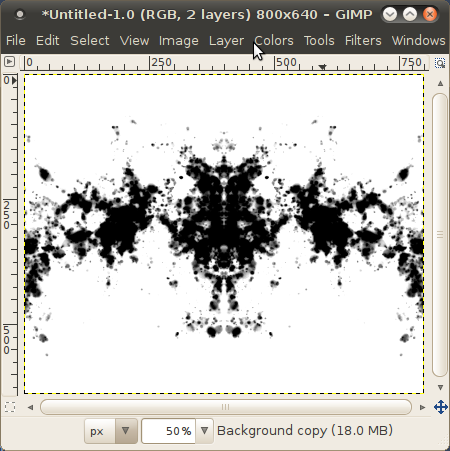
Creating Rorschach-like inkblots in GIMP
I wanted to experiment with GIMP to create some inkblots à la Rorschach. I couldn’t hack it with the prebuilt filters, but to my surprise, I couldn’t even find any documentation of anyone having tried this before, so I thought I’d write down a little how-to.
Actually, I could just link to the two tutorials I did find, which weren’t about creating Rorschachish inkblots per se, but which can be easily applied in doing so. The first one is the easy one: Creating a bloody splatter texture by Bernhard Stockmann. The spatters of blood are a cool effect in themselves, and to turn them into pretty believable inkblots you just have to turn the red into black, as I’ll explain further down.
The second tutorial takes quite a bit more work, but the results are equally more spectacular: Create Cool Splatter Color Effect with The GIMP from GIMP Plus uses custom-made splatter brushes to make beautifully colored images not unlike some works of modern art.
Should the simple way be unaccessible (linkrot or otherwise), I’ll re-create the steps I took to apply it for inkblots here:
- Start with an empty canvas of preferred size. For this how-to, I chose the default of 640 × 400 that GIMP 2.6 gave me. Note that the dimensions of your final image will be different after we rotate and mirror this initial canvas.
- Pick the Airbrush Tool, and pick the yellow brush called ‘Sparks’.
- Add a new (transparent) layer, and paint around with the brush. You may want to adjust the scale of your brush and apply more pressure if your canvas is really big. Make sure there’s lots of contrast, i.e. areas where the yellow is very intense and areas where it’s barely visible. (They’ll translate to different shades of grey later on.)
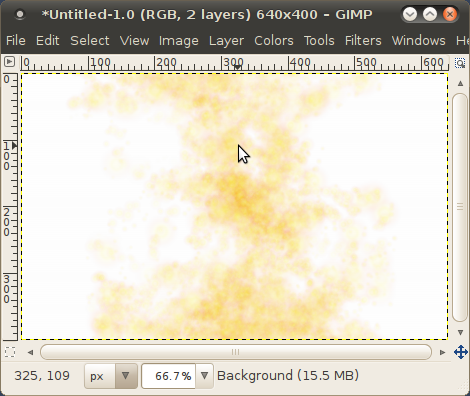
- In the layers dialog, lock the alpha channel.
- Pick black as your foreground color, and select Fill with FG Color from the Edit menu.
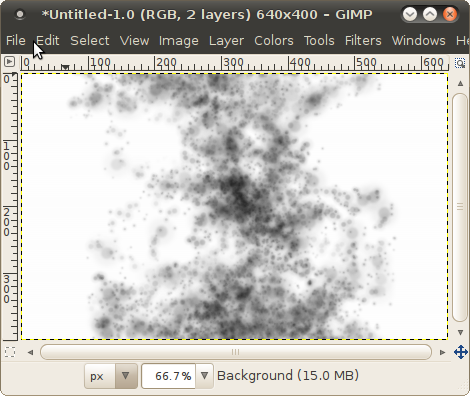
- Unlock the alpha channel.
- From the Colors menu, select Curves…. In the Curves dialog, pick Alpha as the Channel to modify, and modify the curve like so:
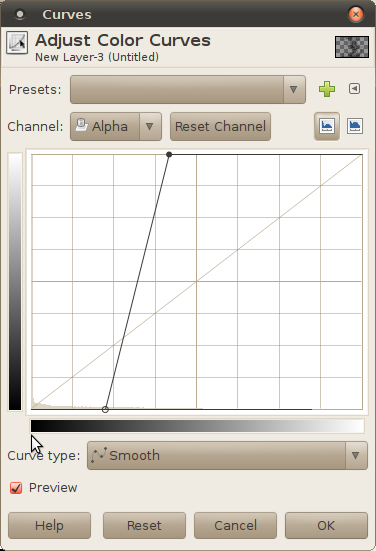
- From the Image menu, select Merge Visible Layers, and from the dialog, Merge.
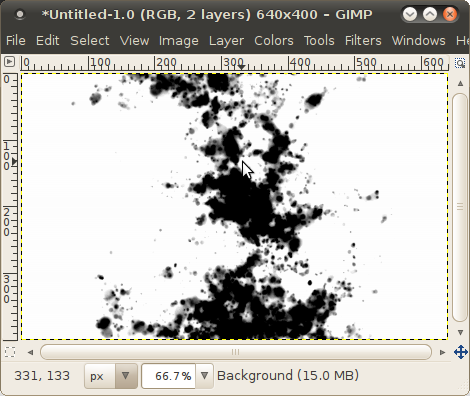
- Rotate (and maybe crop) the image so that you’ll feel it works as the left side of your final image.
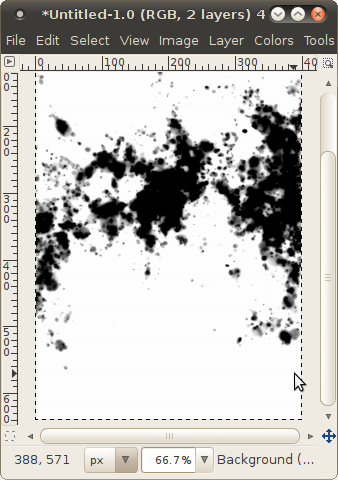
- From the Image menu, select Canvas Size…. Uncouple width and height, and resize your canvas so that it’s double the width of the original.
- From the Layer menu, select Layer to Image Size, then Duplicate Layer, then Transform → Flip Horizontally.
- From the Image menu, select Flatten Image.
And there you have it, a nicely random inkblot ready to frighten your poor patients with!