Instead of just
var sheet = SpreadsheetApp.getActiveSpreadsheet();do this
  var spread = SpreadsheetApp.getActiveSpreadsheet();
  var sheet = spread.getSheets()[0];
’nuff said.
Instead of just
var sheet = SpreadsheetApp.getActiveSpreadsheet();do this
var spread = SpreadsheetApp.getActiveSpreadsheet();
var sheet = spread.getSheets()[0];’nuff said.
LXSession has system-wide configuration in /usr/share/lxsession/<Profile name>/ and optional per-user configuration in ~/.config/lxsession/<Profile Name>/. Unfortunately for autostart, according to documentation, “If both files are present, all the entries in both files will be executed.” This means there’s no clean way to prevent autostarting applications defined system-wide from starting per-user; you have to change the system-wide configuration or resort to hacks.
Here’s one example.
jani@kingugidora:~$ mkdir -p ~/.config/lxsession/Lubuntu

jani@kingugidora:~$ mkdir -p ~/bin

jani@kingugidora:~$ cat > ~/bin/kill-xscreensaver

#!/bin/sh

killall xscreensaver

jani@kingugidora:~$ cat > ~/.config/lxsession/Lubuntu/autostart

@/home/jani/bin/kill-xscreensaver
For now the order seems to work, in that the user-defined autostart lines are ran after system-wide ones.
Dare I say this is somewhat unintuitive?
$ avconv -y -i input_video_A.mp4 -vf 'movie=input_video_B.mp4[inputB] ; [in]pad=1280:0,[inputB] overlay=640:0[out]' -c:v libx264 output_video.mp4This overlays one 640×480 video next to another one of the same size. You can stick a setpts=PTS-STARTPTS in there (between pad=… and [inputB], separated by commas) to have the videos “begin in the same zero timestamp”, but what that means in practice I have yet to figure out.
Note that this doesn’t do any audio mixing. AFAICT avconv currently in Precise can’t do mixing, but newer versions have the amix filter for it.
Edit: Once you’ve done mixing elsewhere, you can bring the mix in too:
$ avconv -y -i input_audio.wav -i input_video_A.mp4 -vf 'movie=input_video_B.mp4[inputB] ; [in]pad=1280:0,[inputB] overlay=640:0[out]' -c:v libx264 -c:a libfaac output_video.mp4Scaling goes after overlay:
overlay=640:0,scale=640:240' -c:v libx264...Edit: Something crazier still: place one video below the other and turn the whole thing sideways before scaling down (plus make it phone-compatible by using mpeg4 instead of libx264).
$ avconv -y -i input_audio.wav -i input_video_A.mp4 -vf 'movie=input_video_B.mp4[inputB] ; [in]pad=0:960,[inputB] overlay=0:480,transpose=2,scale=640:424' -c:v mpeg4 -c:a libfaac output_video.mp4Shotwell from Yorba’s daily builds PPA cyrrently depends on “libgee-0.8-2 (>=0.8.3) but it is not installable” on Precise. Fundamentally, this is caused by Yorba (by decision) moving to libgee 0.8 but not packaging a 0.8-series libgee to go along with daily builds of Shotwell.
But libgee 0.8 for Precise is available from the Vala Team PPA, so enabling that PPA allows for the daily shotwell build to install once more.
Additionally, I’m using the PPA downprioritizing trick so that rest of the Vala PPA contents don’t override stuff from official repositories.:
jani@saegusa:~$ cat /etc/apt/preferences.d/valappa-unprefer
Package:  *
Pin: release o=LP-PPA-vala-team
Pin-Priority: 400convert frames10/frame001.png frames20/frame001.png frames30/frame001.png -adjoin frames/frame001.tiff-nr option is there but doesn’t seem to do anything (at least for compressibility, with libavtools 4:0.8.6-0ubuntu0.12.04.1).--cq-level=30 doesn’t look overly bad compared to better-to-start-with color material compressed with --cq-level=10. --min-q will of course further limit the quality, but for values that matter for compression it starts to show.Edit: To back up my “CQ30 is good enough” claim, here’s a frame where the effects of CQ=10 vs CQ=20 vs CQ=30 are of the most obvious kind:
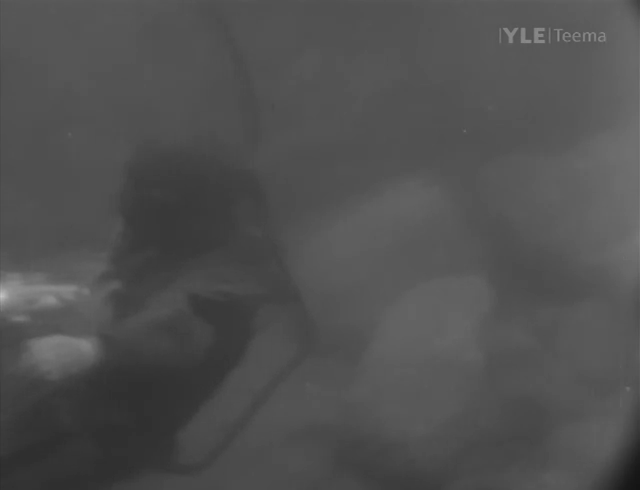
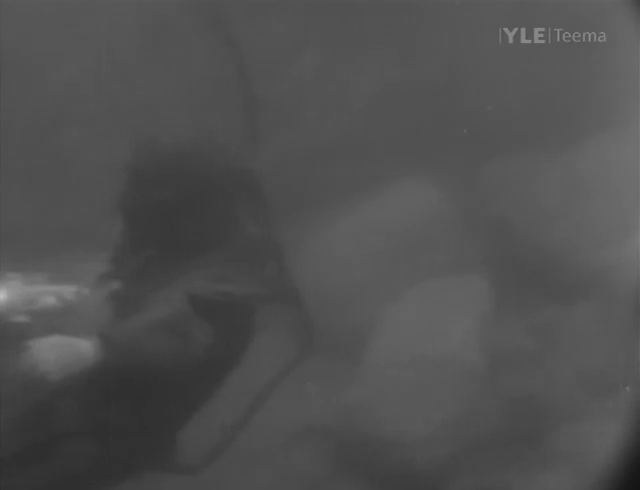
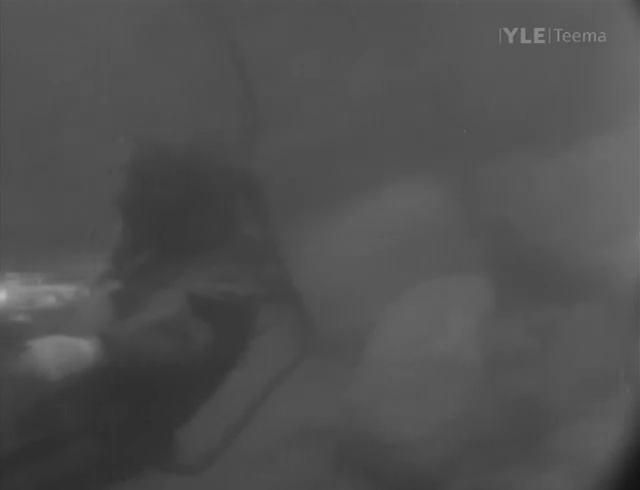
Just try and claim you’d prefer one of those over the others for your 1/25th of a second.
I came up with a better way to crop the videos: as before, figure out the best deinterlacer (say, yadif) with Avidemux, but then just look up the timecode (say, 123 seconds) for a good reference frame and go straight to avconv:
avconv -ss 123 -y -i input.mpeg -vsync 1 -r 1 -t 1 -vf yadif=0:0 -an frame%d.png(Note that putting seek time with -ss prior to the input -i makes seeking faster but less precise.)
Now open the frame in Gthumb (or whatever is the snappiest photo resizing and cropping tool at the time), and go through the resize and cropping procedure I described earlier. Turns out Avidemux 2.5.4 is pretty clumsy at this: for example, it forbids resizing to odd numbers while avconv allows it, so getting the numbers in a visual tool that also allows odd numbers makes better results.
Back in the day, multiples of 16 in pixel dimensions were all but required for codecs’ compression not to crash and burn, but from my tests it would seem multiples of 4 or even 2 are fine for VP8.
In CQ mode, --target-bitrate becomes “target maximum rate”. If requested quality (--cq-level) can be achieved with less (than --target-bitrate) bits, it will be encoded so, but --target-bitrate does set the hard upper limit for bitrate. In addition, it defaults quite low if unset, even in CQ mode; at least my intuition (stemming from experience with Vorbis, probably) assumes CQ mode without set bitrate would take all the bits it needs to achieve the requested quality, but not so.
So, if reaching a certain size doesn’t matter, but quality does, I suggest --end-usage=cq and overshooting --target-bitrate with a high enough number to guarantee that quality is limited by CQ controls (--cq-level, --min-q and --max-q) alone, not by bitrate. Remember, any crazy big bitrate value will still be undershot if all of those bits aren’t actually needed to hit the quality target.
The default --cq-level value of 10 seems quite well struck (for certain material I can’t tell the difference from level 5 despite the +30% increase in file size), but even level 20 still doesn’t seem too bad (again, for the material I’ve tested it with, resulting in additional 30% saved in file size).
For my Intel Pentium G2120, `lshw -class cpu` and `dmidecode -t processor` both claim only one core is enabled on my dual-core Intel Pentium G2120. This is despite ‘All’ being enabled in the UEFI settings for cores enabled.
This is apparently just because lshw and dmidecode are not smart enough. `lscpu` tells it how it really is:
CPU(s):                2
On-line CPU(s) list: 0,1Two-lobe Lanczos is fine. It’s Lanczos (or any other sinc-based filter) with more than two lobes that gets problematic.
However, if you’re going to use 2-lobe Lanczos, you might as well use Catmull-Rom [bicubic] since as mentioned previously the two are virtually identical. The reason you see any difference between the Lanczos filter and the “bicubic” filter in various image processing apps is that the bicubic they are using is generally not Catmull-Rom. Typically it’s a Mitchell-Netravali filter with the coefficients tweaked to be “sharper.”
Can you tell that I like Catmull-Rom a lot? I do. I like Lanczos2 as well, but again, the two are practically identical.
Post #47 on the topic of “Lanczos vs Bicubic comparison”, Page 2, @ AVS Forums