I wanted to experiment with GIMP to create some inkblots à la Rorschach. I couldn’t hack it with the prebuilt filters, but to my surprise, I couldn’t even find any documentation of anyone having tried this before, so I thought I’d write down a little how-to.
Actually, I could just link to the two tutorials I did find, which weren’t about creating Rorschachish inkblots per se, but which can be easily applied in doing so. The first one is the easy one: Creating a bloody splatter texture by Bernhard Stockmann. The spatters of blood are a cool effect in themselves, and to turn them into pretty believable inkblots you just have to turn the red into black, as I’ll explain further down.
The second tutorial takes quite a bit more work, but the results are equally more spectacular: Create Cool Splatter Color Effect with The GIMP from GIMP Plus uses custom-made splatter brushes to make beautifully colored images not unlike some works of modern art.
Should the simple way be unaccessible (linkrot or otherwise), I’ll re-create the steps I took to apply it for inkblots here:
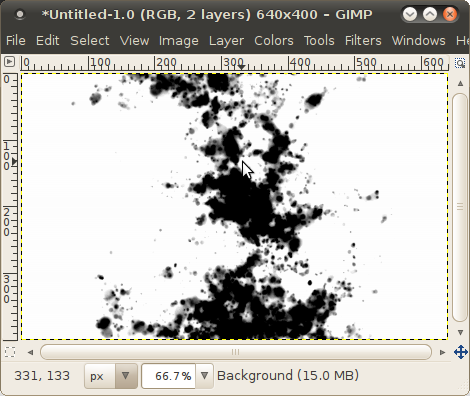
- Start with an empty canvas of preferred size. For this how-to, I chose the default of 640 × 400 that GIMP 2.6 gave me. Note that the dimensions of your final image will be different after we rotate and mirror this initial canvas.
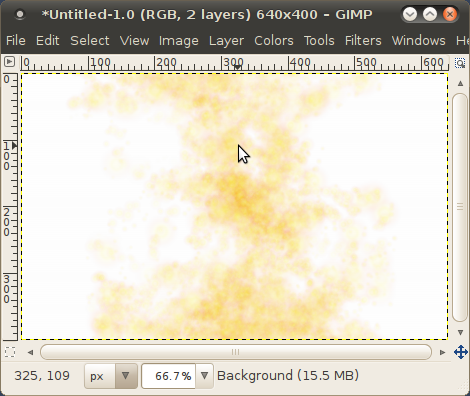
- Pick the Airbrush Tool, and pick the yellow brush called ‘Sparks’.
- Add a new (transparent) layer, and paint around with the brush. You may want to adjust the scale of your brush and apply more pressure if your canvas is really big. Make sure there’s lots of contrast, i.e. areas where the yellow is very intense and areas where it’s barely visible. (They’ll translate to different shades of grey later on.)
- In the layers dialog, lock the alpha channel.
- Pick black as your foreground color, and select Fill with FG Color from the Edit menu.
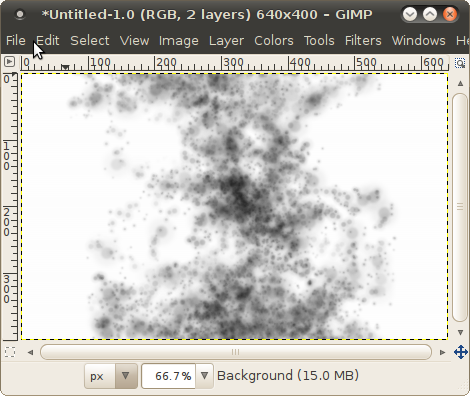
- Unlock the alpha channel.
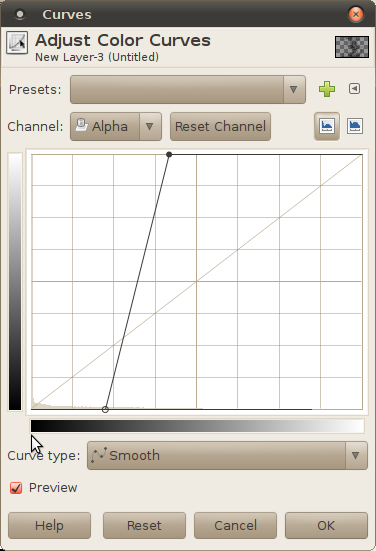
- From the Colors menu, select Curves…. In the Curves dialog, pick Alpha as the Channel to modify, and modify the curve like so:
- From the Image menu, select Merge Visible Layers, and from the dialog, Merge.
- Rotate (and maybe crop) the image so that you’ll feel it works as the left side of your final image.
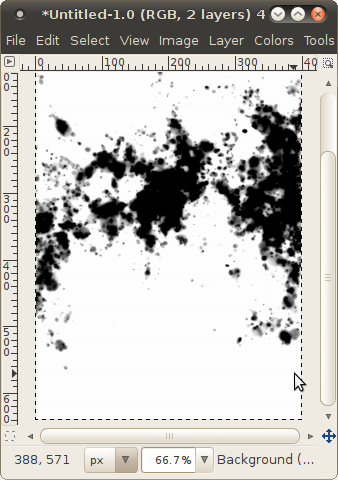
- From the Image menu, select Canvas Size…. Uncouple width and height, and resize your canvas so that it’s double the width of the original.
- From the Layer menu, select Layer to Image Size, then Duplicate Layer, then Transform → Flip Horizontally.
- From the Image menu, select Flatten Image.
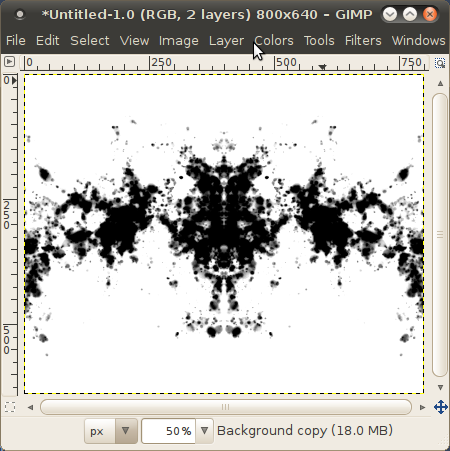
And there you have it, a nicely random inkblot ready to frighten your poor patients with!