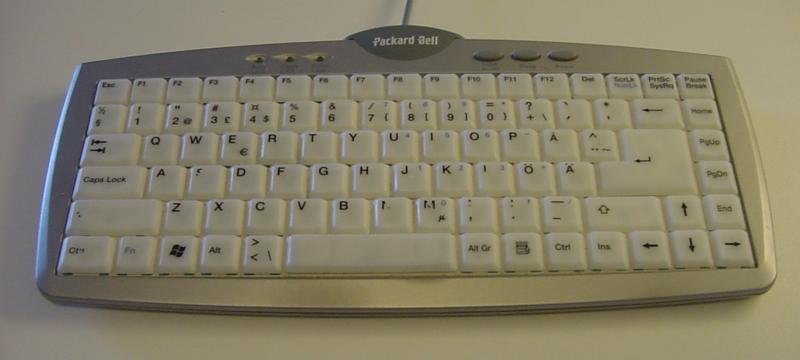
Bought this Packard Bell branded Glow keyboard (Model No. PB KB 400) a while back. It’s probably exactly the same piece of hardware as the Zippy EL 610 (as reviewed by The Tech Report), and apparently which neither of these two no longer make. Anyway, the coolest feature of this keyboard, the blue light, had grown dim, just barely visible in a dark room, so I decided it’s time to take a look at what’s inside it.
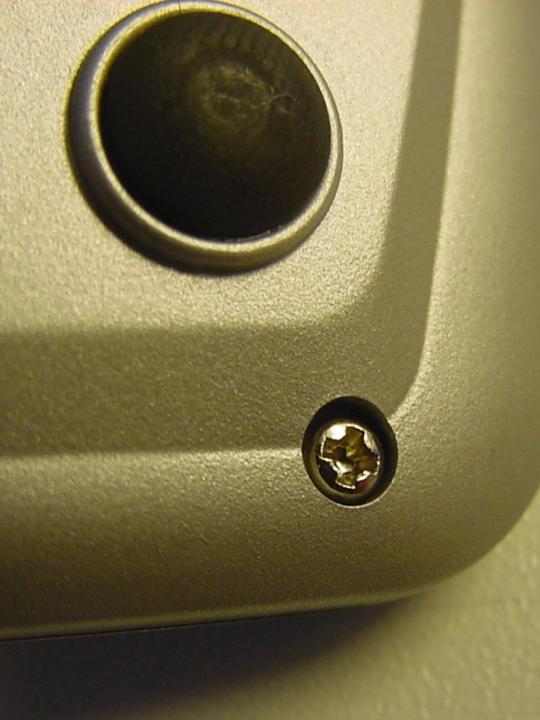
First of all, it’s sealed with four normal cross-heads. After that I tried twisting the top cover carefully in order to find out where to begin; since the keyboard is made of very weak plastic (one of the stands behind it broke off almost the day I bought it – got a warranty replacement for that one) I knew I had to be careful in order not to crack it.
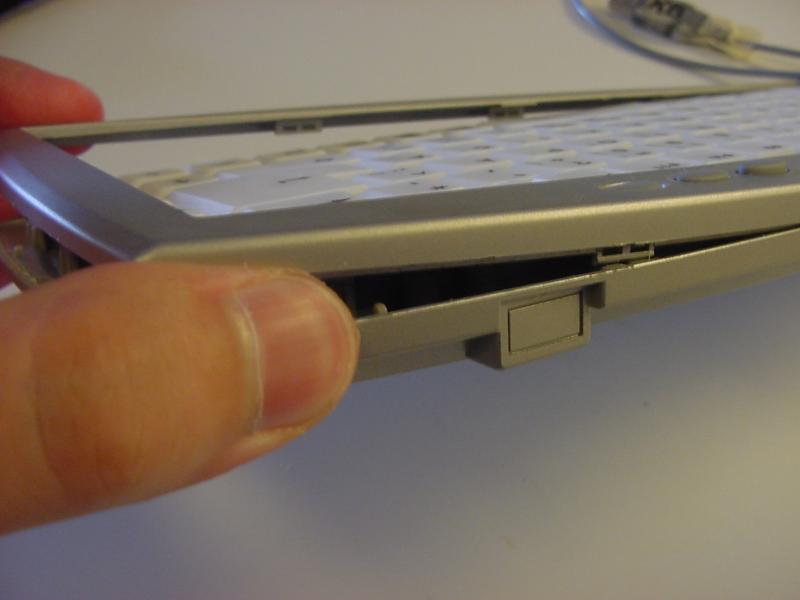
I finally decided the best place to begin was the right hand side, because there’s just one locking mechanism on the sides and I’m right-handed. Using my tools, a big flat-head screwdriver and another, tiny one, I managed to unlock it without breaking it.

After this one, the left-hand side was natural to come next. The lock in this one turned out to be the only one I managed to break, but it’s got a nice two-slot design so that busting one side of the slot doesn’t necessarily break it.
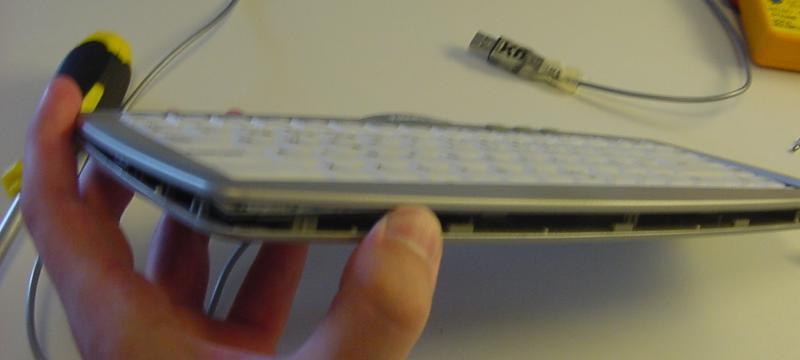
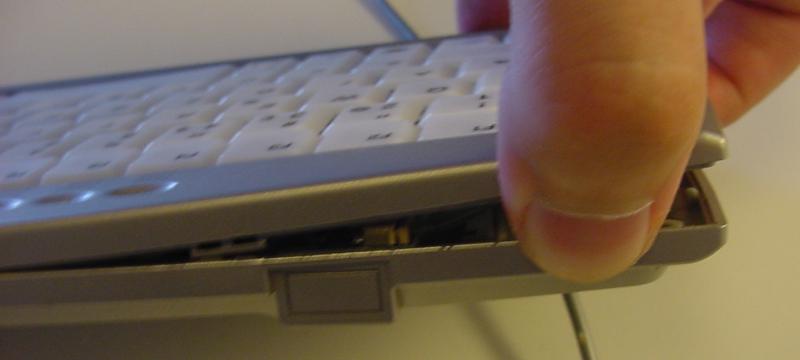
Having the sides open, the top of the cover still seemed pretty tightly held, but the bottom was easily released from the two locks holding it in place:
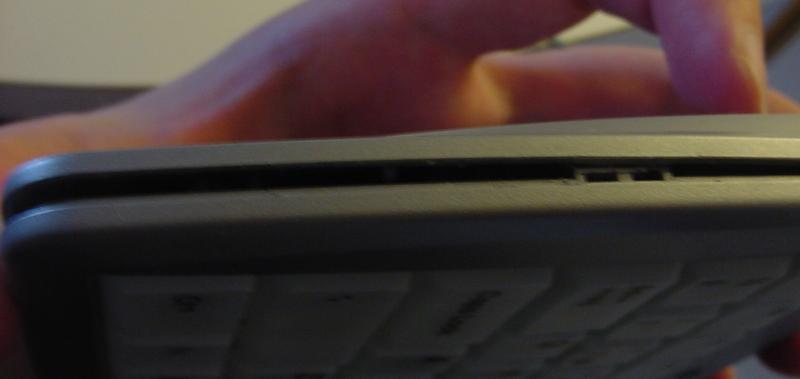
(Sorry about the crappy, shaken pictures.)
The top was still pretty tight, so I examined it carefully to locate the locks as accurately as possible. Turned out it’s right next to the place where there’s a rectangular shape in the lower part, towards the inside. I used my smaller flat-head to push the slot of the lock (attached to the cover) towards the inside, and thus managed to release the one on the right hand side.
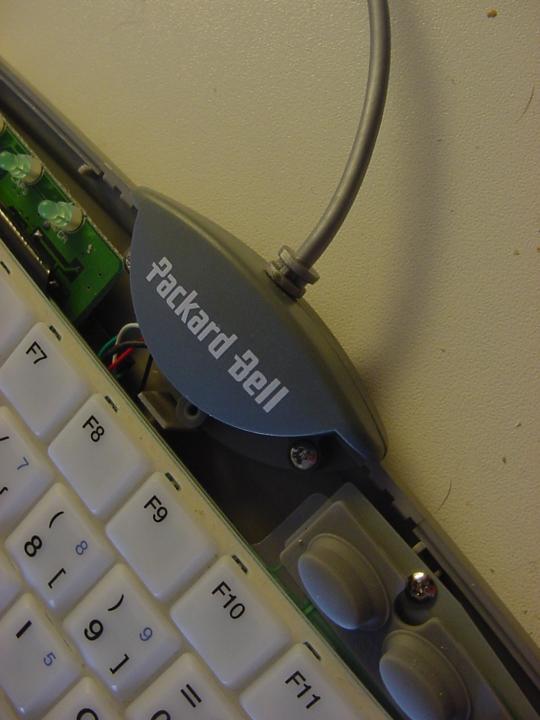
The one on the left-hand side was just as easy to open. After that there were still two locks, one on each side of the oval shaped, darker gray piece of plastic through which the cord runs, so the total number of locks on the top side was four – that’s why it was the tightest one to loosen. At this point, the two remaining locks were easily opened without damage.
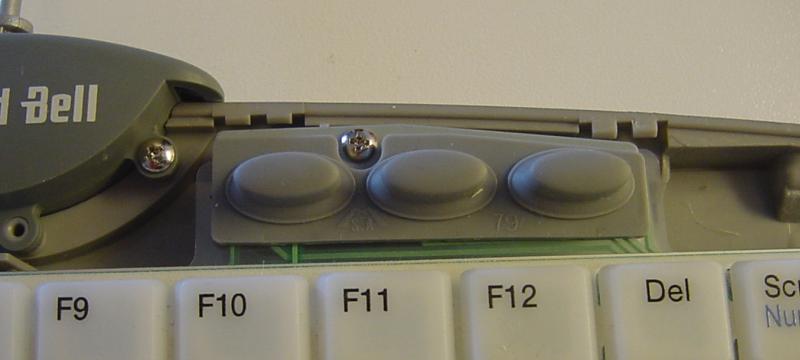
The cover was now entirely removable. So was the rubber pad that makes up the Light On/Off, Sleep and Power buttons.
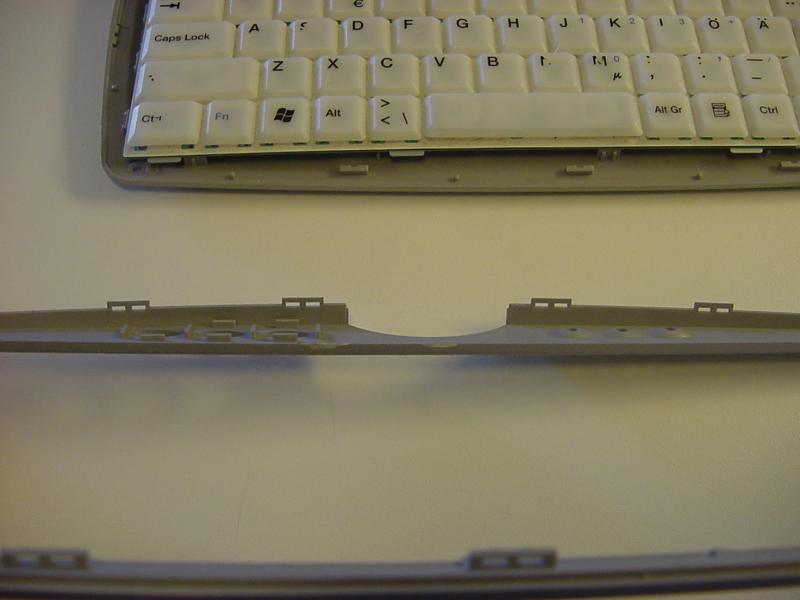
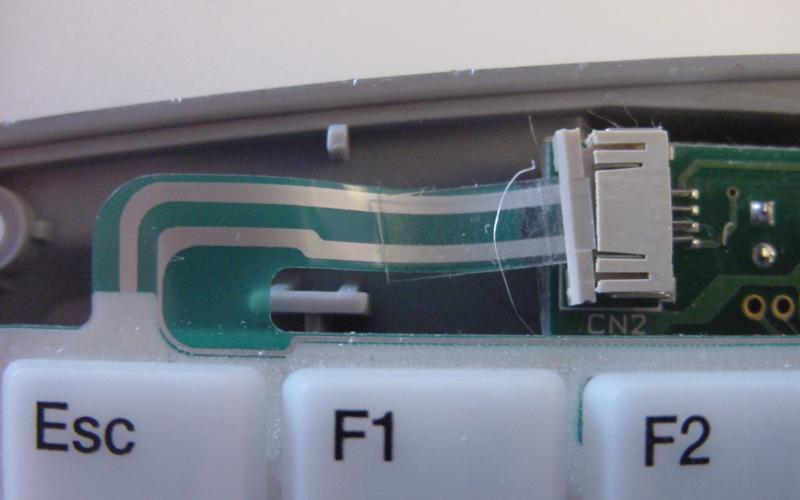
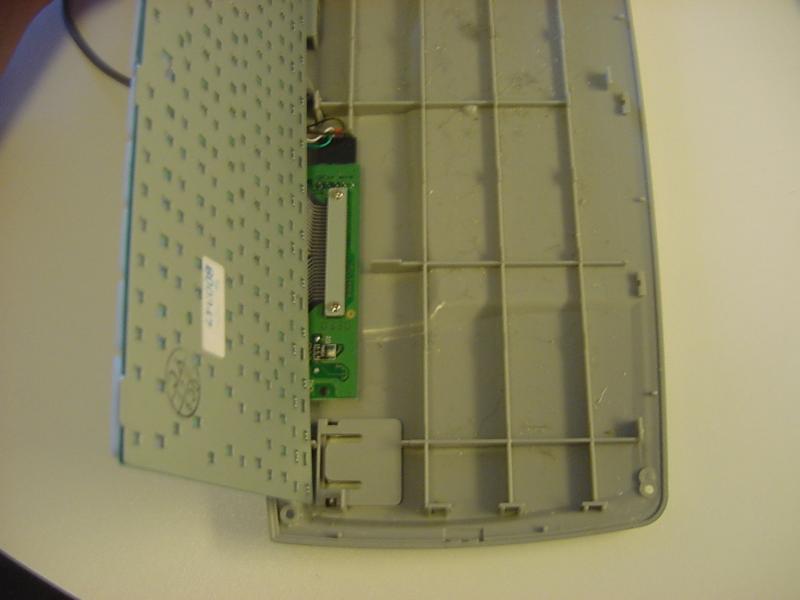
The keyboard itself is attached to a small PCB with two flat cables: a smaller one from the top left part, and a wider one right next to it, underneath the keyboard. The smaller one is attached with another kind of plastic lock, which I was able to open simply by pulling it. In doing so I chipped of a little piece from it, but luckily it did reattach quite ok when reassebling it back.
The wider cable is attached with two screws (cross-heads, again), and by simply removing those the keyboard is freed from the PCB.
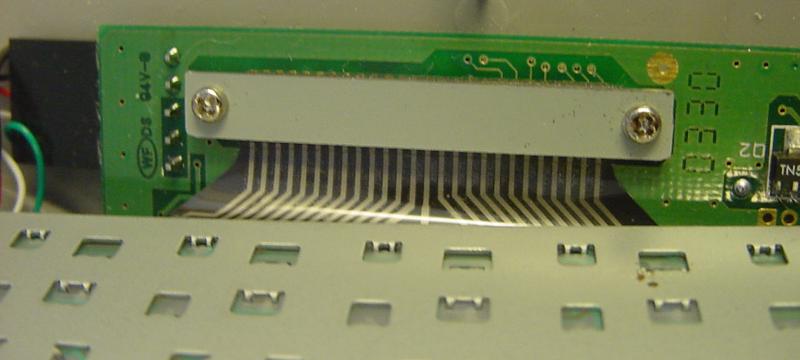
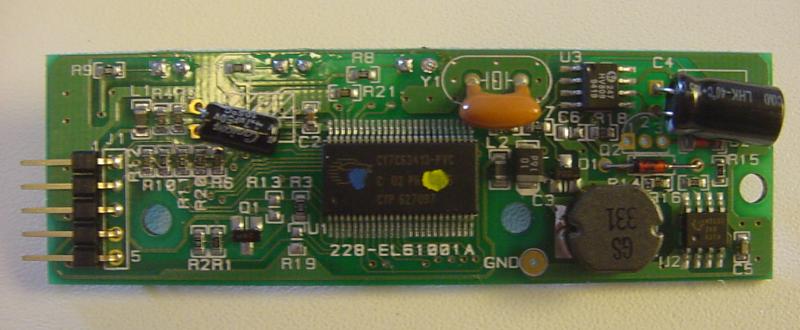
Finally, here’s the PCB bared and seen from both sides.

I didn’t see any apparent loose connections or broken wires to do much anything about the dim lights, but at least having the keyboard in pieces enabled me to clean up the impressive amount of hair, dust and other filth it had gathered inside it up until now. After that, putting the keyboard back together was simpy a matter of reversing the steps I came to disassemble it.